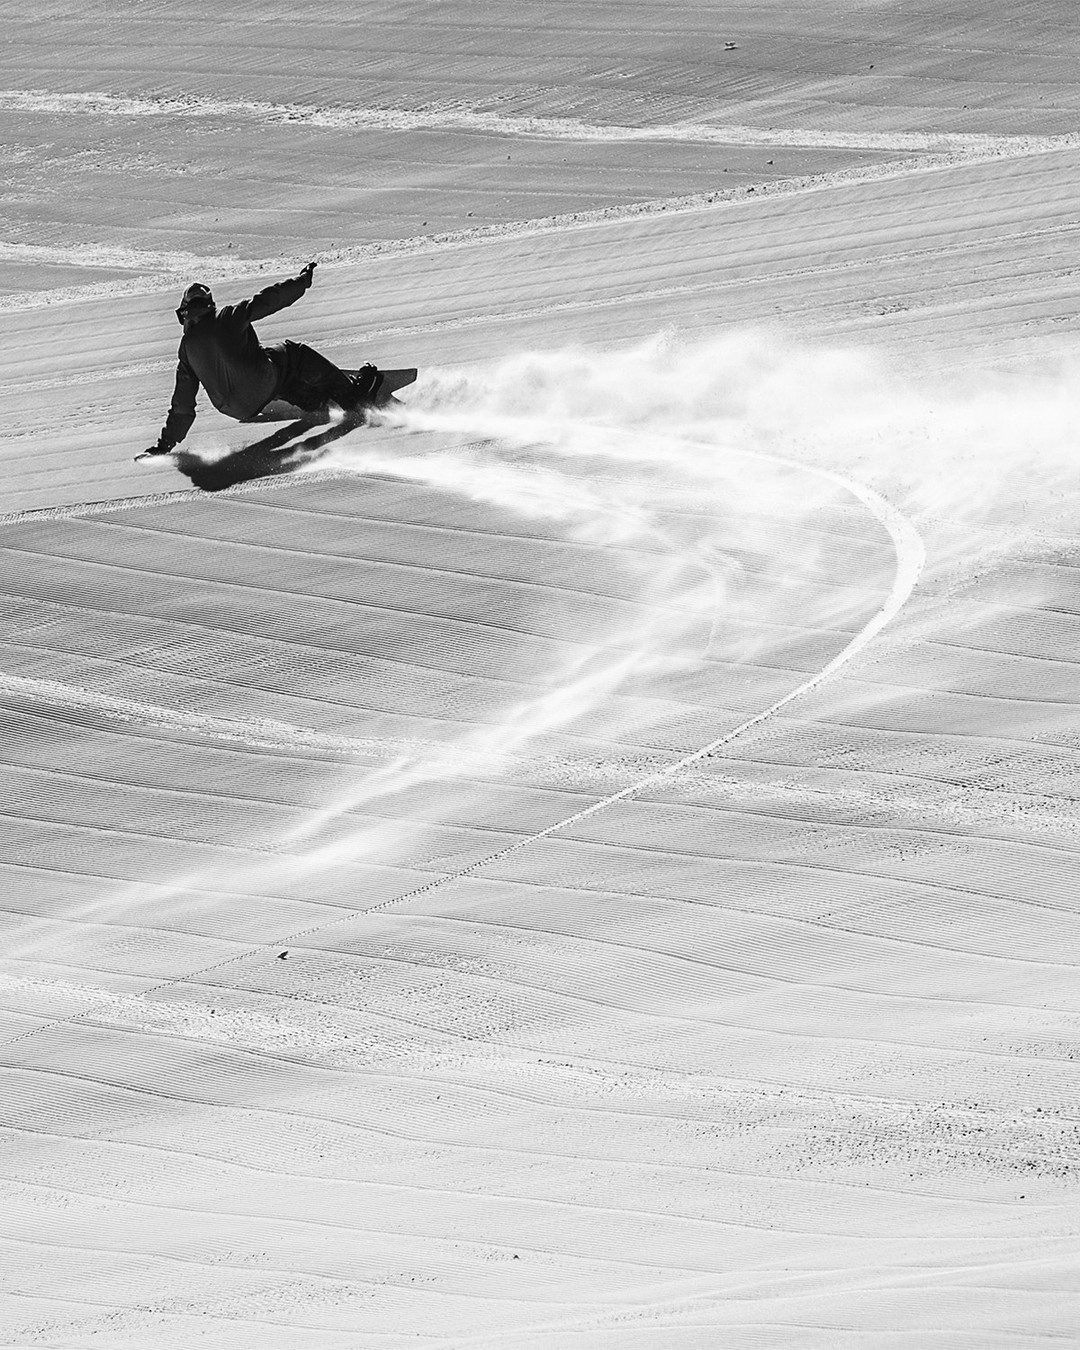
If you were to try to define what the perfect snowboard turn looks like, type Nicholas Wolken into Instagram and you’ll have something pretty close.
Co-founder and rider for Korua Shapes, a brand celebrated for its obsession with the beauty of simply turning a snowboard, Wolken consistently shows how something so fundamental can also be the pinnacle of expression.
Somewhere between art, physics and pure joy, his riding shows how subtle weight shifts, edge transitions timed to the terrain, and a constant awareness of upper and lower body work in harmony to create beauty from technical mastery.
But the humble snowboard turn is deceptively complex. It’s where control, speed, and style all begin – but making a turn look effortless takes years of practice, a sharp awareness of balance, and a deep understanding of how your board interacts with the terrain.
Recently gracing our shores here in Australia with his quiver of beautiful white topsheet red based Korua samurai swords, we caught up with Nicholas to pick his brain and get a couple pointers on how to master the turn. Here’s what he suggests.
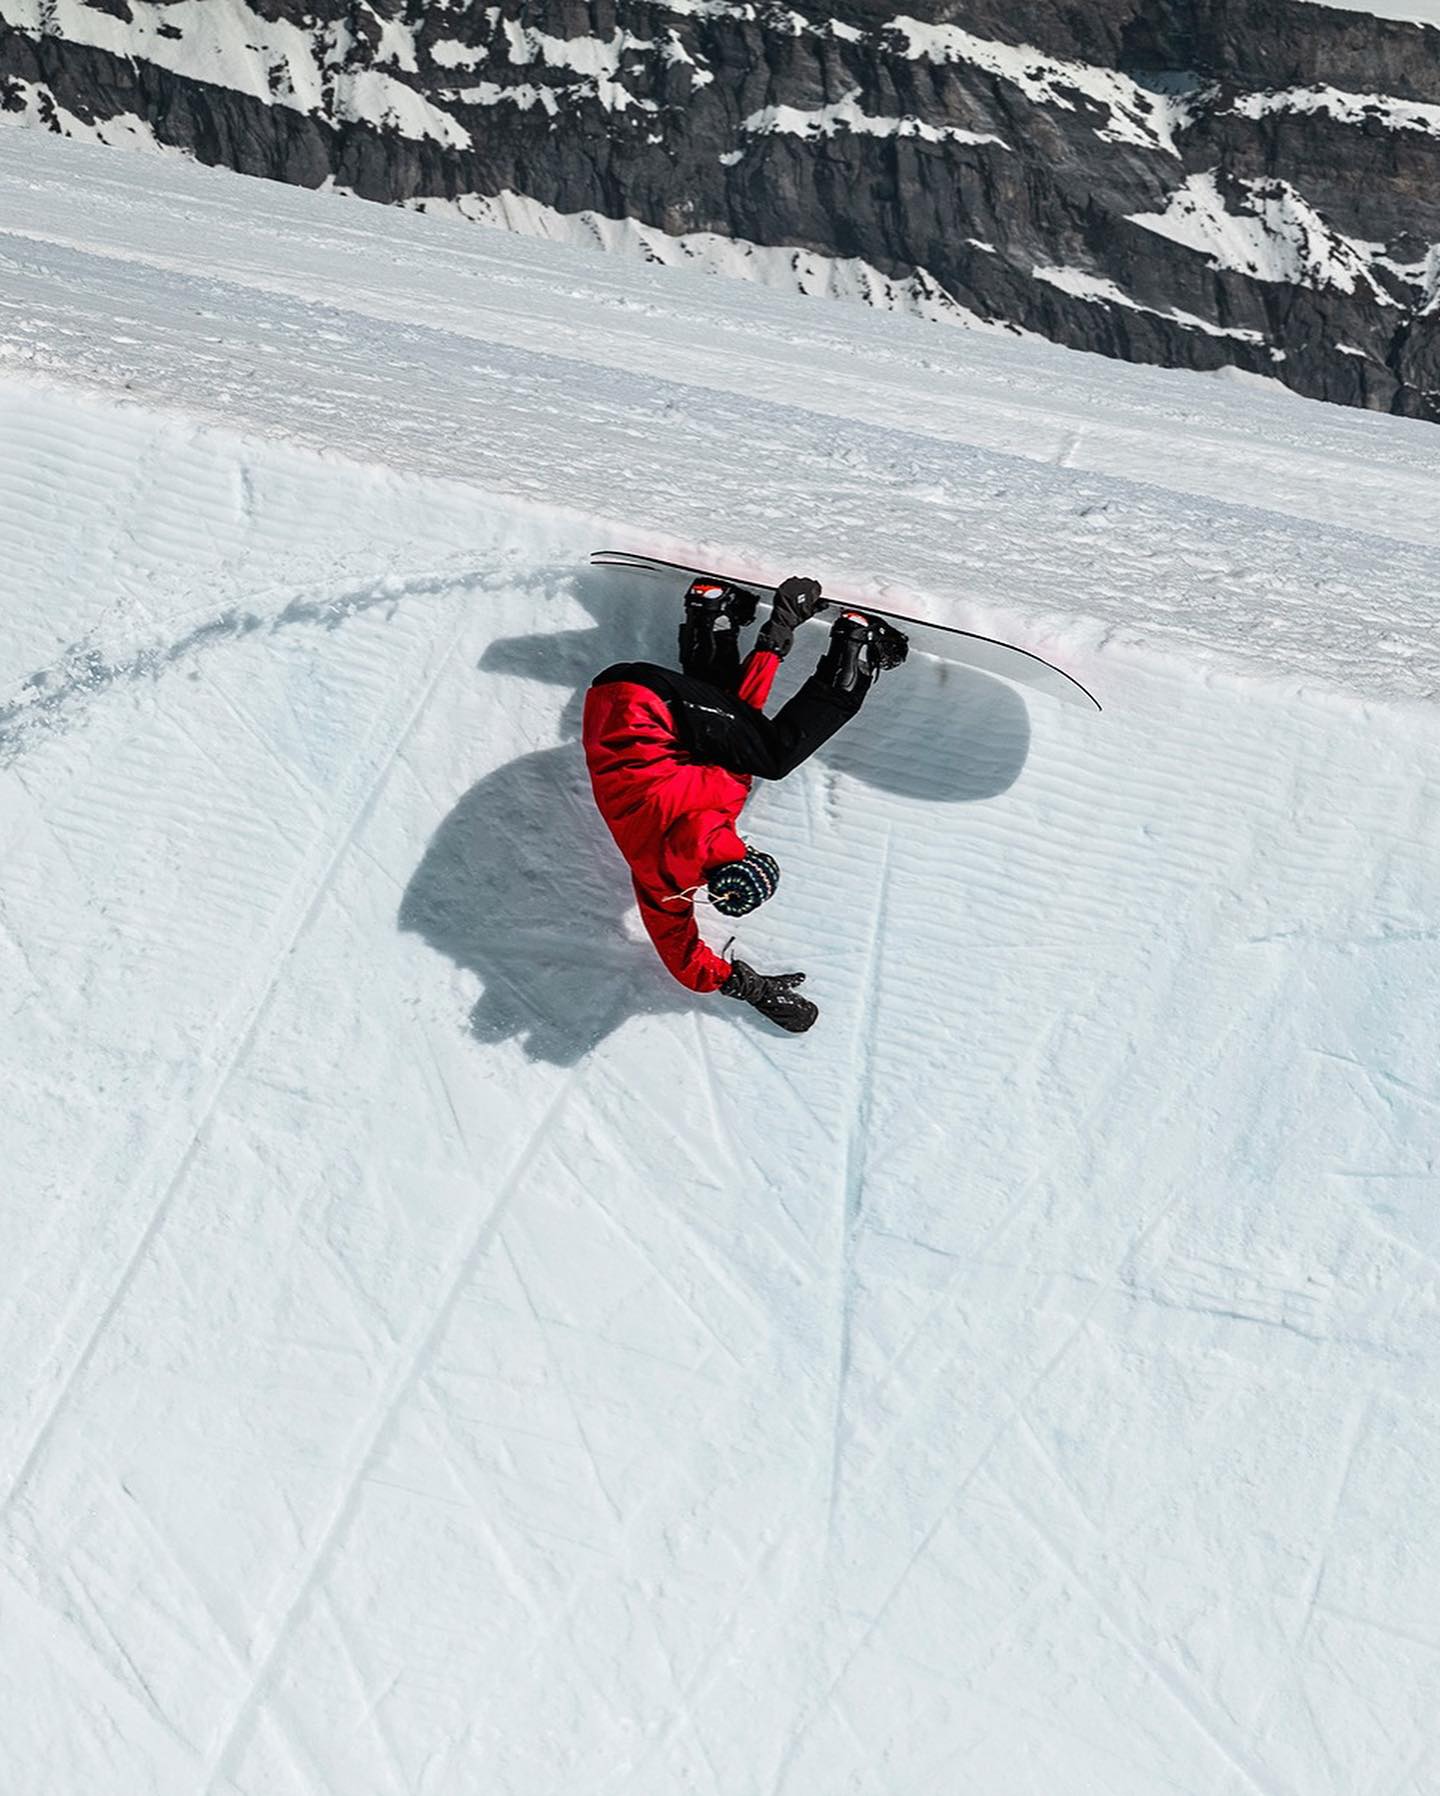
Tip 1: Choose Your Terrain Wisely
Don’t jump straight into the steepest slope. For learning and refining turns, mellow gradients with a clean surface work best. Early-morning groomers are prime carving conditions—smooth, grippy, and consistent—while late-afternoon slush tends to wash out your edge. Think about terrain features too: banks can be your best friend. Lean into them—heelside or toeside—and they’ll give your turn extra support and a surface to push against.
Tip 2: Play with Your Stance
Your binding setup has a direct effect on how your board flexes through a carve. Deeper binding angles and a slightly narrower stance allow the board to bend more naturally underfoot, creating a smoother arc. A wider stance stiffens the board along its radius, reducing that flex. Don’t be afraid to experiment—small changes can have a big impact on how your turns feel.

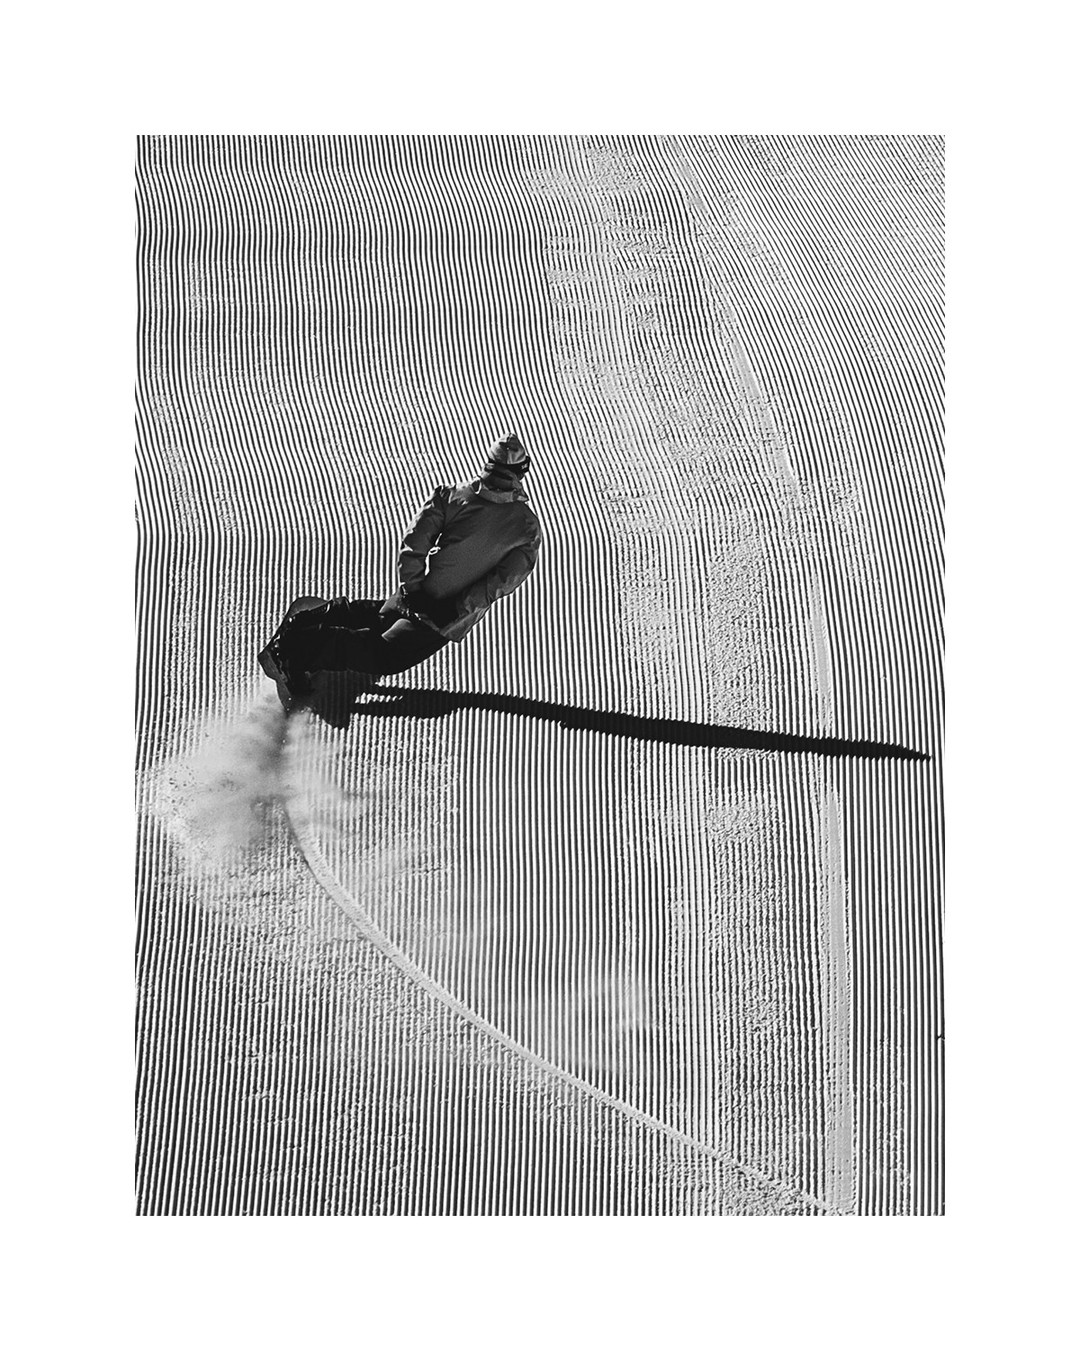
Tip 3: Get Low—With Your Hips, Not Your Hands
Stylish low turns don’t come from reaching down with your arms; they come from bending your knees and sinking your hips. Bring your hips close to the snow and keep your upper body relatively upright. If your stance is compact and balanced, touching the ground becomes a natural extension of your movement rather than a forced gesture.
Tip 4: Square Your Shoulders
Instead of keeping your shoulders parallel across the board, rotate them slightly forward so they align more with the nose. This frontal alignment helps you drive your hips into the turn without collapsing your torso, giving you more control, fluidity, and flow through the carve.
Tip 5: Keep Your Tools Sharp
Good turning starts before you even strap in. Sharp edges give you grip where you need it most, especially on hardpack or icy snow. A fresh wax also keeps your speed consistent, which is crucial for holding a carve from start to finish. Think of tuning as expanding your margin of control—it widens the window where turns feel smooth and reliable.
Tip 6: Ride the Right Board
The board under your feet matters. A carving-focused shape will always make arcing turns feel more natural than a pure park stick. That doesn’t mean you can’t lay a carve on a freestyle board—but a directional shape with the right sidecut, flex, and waist width will do half the work for you. Pay attention to boot size as well: if you’ve got bigger feet, a wider board keeps your toes and heels clear of the snow, making it possible to get super low without dragging.
Tip 7: Look Ahead, Draw Your Line
Your eyes set the tone for your turn. Instead of staring down at the nose of your board, scan the slope ahead and visualize your line. Spot a natural bank? Picture your setup turn before you get there. This kind of anticipation helps you connect your arcs, draw cleaner lines, and carve with intention rather than reaction.
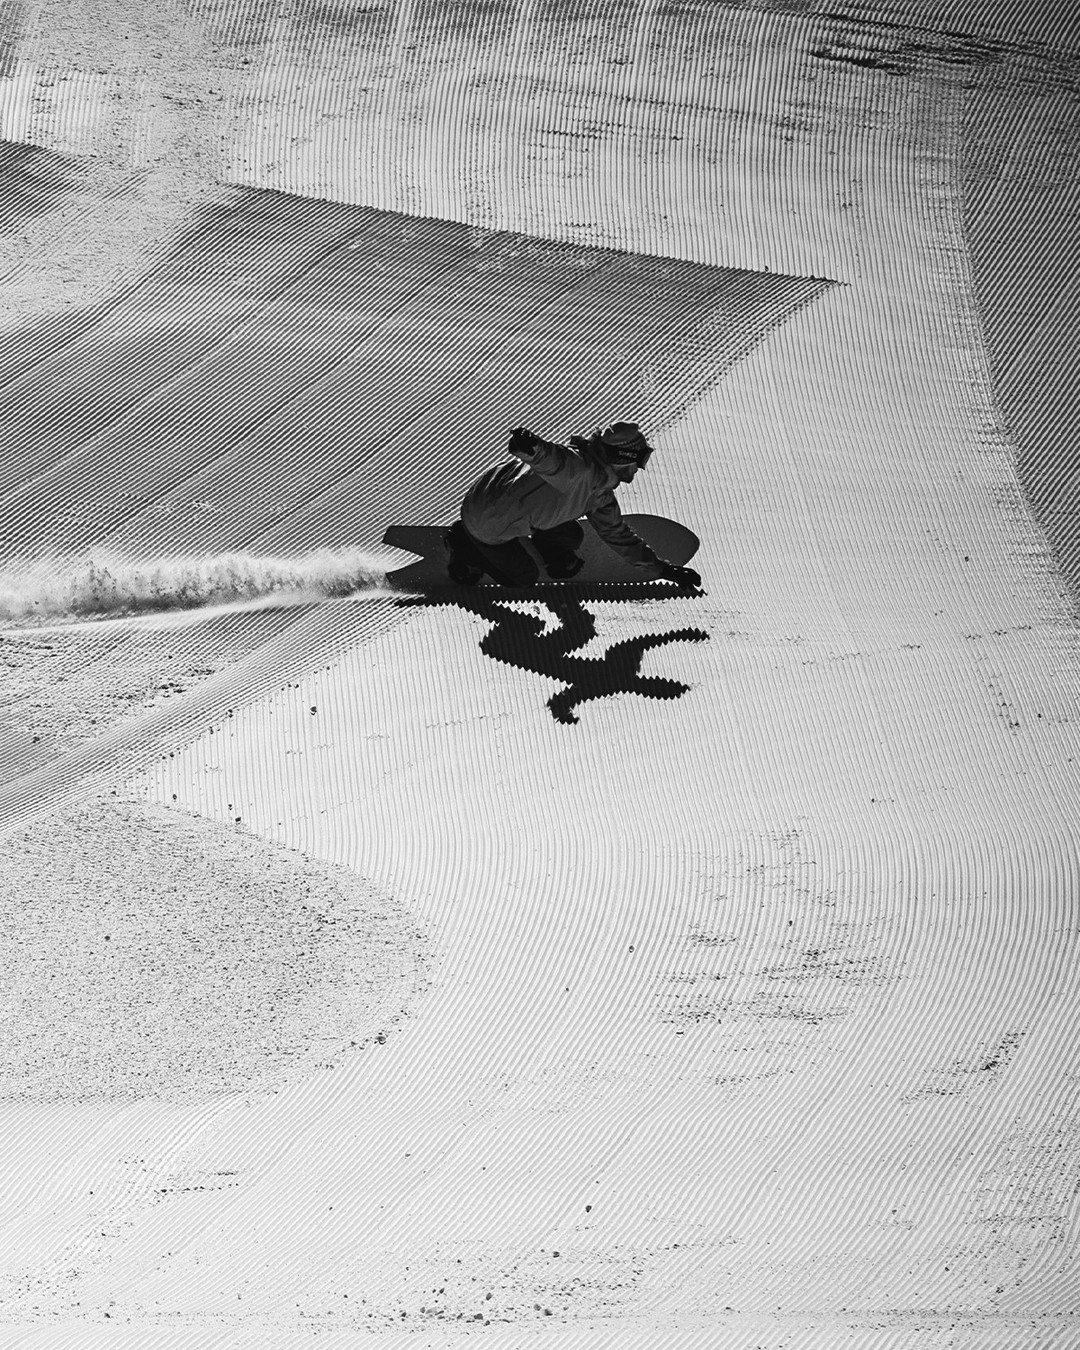
Tip 8: Pressure Through the Arc
On a directional board especially, where you place your weight makes or breaks the carve. At the initiation of the turn, load the nose—this engages the edge cleanly and pulls you into the arc. Around mid-turn, begin to balance the pressure more evenly between both feet, feeling the board flex under you. As you come to the end of the turn, let that weight shift gradually into the tail. This flow from nose → mid-board → tail sets you up perfectly to release, reset, and roll smoothly into the next carve. Think of it as a rhythm: guide in with the nose, dance through the middle, and drive out through the tail.
Tip 9: Find the Right Flex
Your boots and bindings are the bridge between you and your snowboard, so how stiff they are has a huge impact on your turns. I prefer a medium-stiff setup: enough backbone to hold a carve but still forgiving enough to let you play. Super-stiff gear locks you in and gives maximum edge hold, but at the expense of surfy flow and playfulness. A touch of softness keeps things fun and responsive, especially if your carving style leans toward creativity rather than pure hardcore carving.
Equally important is staying centered on the board. Make sure your heel and toe have the same clearance to the edge. That balance means you can go just as deep on a heel-side carve as on a toe-side carve without boot drag cutting your line short. Protip set up your board, bindings and boots on a carpet then set it on edge and see what touches first, sometimes you can cut away a bit of rubber off of your boots which can make a huge difference. Also compare bootsize vs. sole length some companies differ a lot!! So a 8.5 boot from brand A could be 2cm shorter than brand B!
Tip 10: Fine-Tune Your Bindings
Beyond stiffness, it’s the small tweaks that can unlock real control. I like to rotate my highbacks so they run parallel to the board’s edge, which maximizes heel-side power transfer. I also experiment with forward lean, often running a touch more on the back foot than the front—just enough to keep knees slightly bent and responsive without feeling locked down.
For a more visual explanation check out Nicholas explaining turning in more detail here: