Words by: Xander
Whether you’re a pro snowboarder or a weekend warrior, looking after your snowboard is as important as hanging your goggles on the rear-view mirror on the way up to the hill.
Maintaining your deck makes it ride better, prolongs its life and offers pure satisfaction as you effortlessly sail along the flat section of the cat-track without having to unstrap.
The easiest way is to maintain your board is to take it to your local shop and get the professionals to do it, but if you have a garage, some basic tools and a little bit of ambition, it’s pretty easy to do it yourself.
Adrian Borcherds is a Transfer Banked Slalom podium regular and the resident wax expert at Jindabyne’s ESS Boardstore, a store that prides itself on offering the best gear and tuning services in the business.
We asked him a few questions about how to keep your sled in the best shape possible.

Be sure to check in with Adrian and the team for the Transfer Banked Slalom Wax Party on August 11th – free tuning and beers on offer from SIMS Snowboards & Pirate Life Brewing.

How does snowboard wax actually work?
I’m no scientist, but from what I remember from high school physics is that when you ride downhill, a snowboard essentially melts the snow and glides over top of that thin layer of water. Wax decreases drag and improves speed by optimizing the film of water formed between the board and the snow.
How often should you wax your snowboard?
This is very much up to personal preference and how lazy you are, but the rough rule of thumb is that you should wax your board after every three to four days on the hill. If you’re a boardercross rider or just hitting rails on front valley, that cadence might be a little different, but for the everyday snowboarder, waxing your board after a long weekend seems to work pretty well. Waxes are also designed to be most effective within specific temperature ranges so if you’re anticipating a big warm front and you’re currently rocking a cold-weather wax you may want to consider a quick tune (or vice versa).
How To Wax Your Snowboard
The Tools
All this stuff is available at any good snowboard store – The team at ESS sells a lot of really good tools and tuning kits for keeping your sled in good shape
- File Guide
- File
- Gummy Stone
- Scraper
- Iron
- Snowboard Wax
- A Scouring Pad like Scotchbrite (or a Wax Brush)
Tidy Up Your Edges
Get your board nice and secure in some tuning vices or a solid saw-horse set up and make sure there’s no wiggle.
Use a gummy stone to get rid of any rust and run the file guide along the edges (from nose to tail) using long, smooth strokes to smooth out any burrs or gouges. If you’re a park rider, this is a good time to do any detuning you might want. Detuning is mostly rider preference, but the more you detune your edges, the less catchy they’ll be.
Clean Your Base
Wipe down the base using a brush and then some citrus-based cleaner to remove any dirt, edge shavings, or other shit on your base. This is actually an important step that is often overlooked but can significantly improve a snowboard base’s ability to absorb wax.
Apply Wax
It’s best to use a proper snowboard iron, but at a stretch, a regular household iron bought on market-place clothes iron can still work. For all temp wax, heat up your iron to 100-120 for all-temp wax – you don’t want your iron to be too hot or you’ll cook your base. If you’re running a special temp wax, read the instructions on the packet.
Hold the iron at an angle above the snowboard, press a piece of wax against the bottom of the iron and let it drip onto the base. Move from tip to tail, dripping wax evenly to cover most of the base. You need less wax than you think, don’t use too much!
Place the iron directly onto the base of the snowboard and begin spreading out the wax with smooth consistent strokes. Continue spreading out the wax until the entire base is covered, adding a little extra wax to any dry spots. Don’t hold the iron in one place for too long or you’ll fry the base.

Let It Chill For A While
Exactly how long you leave your board to absorb the wax is a bit of an issue of contention. Some say 30min, some say overnight. Either way, let it cool down completely allowing enough time for the wax to do its thing.
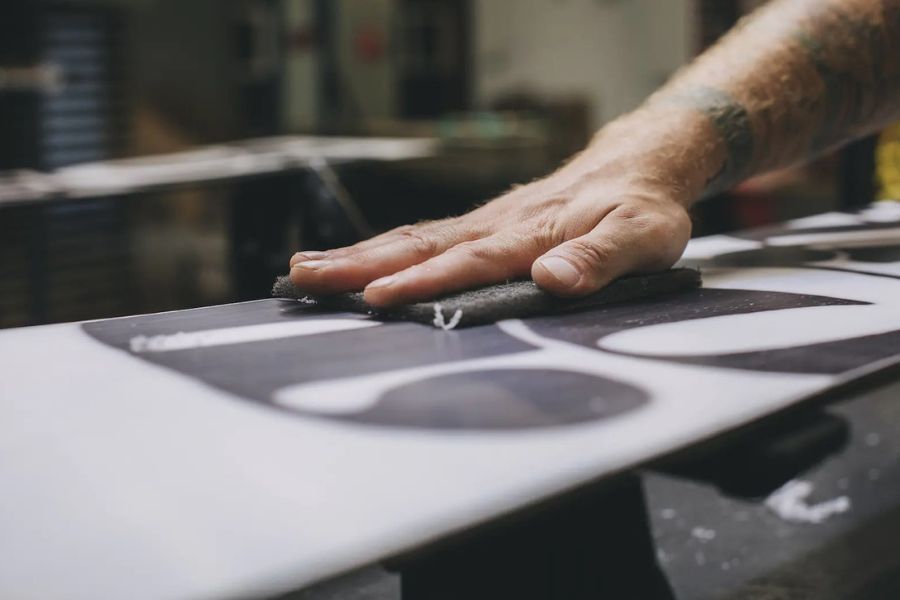
Scrape and Buff
Using your scraper and working from nose to tail – scrape your wax off in long continuous strokes. Stripping it completely bare defeats the purpose of waxing, but you don’t want clumps of wax sticking around. Try a few different angles on the scraper to find the sweet spot. With your scouring pad, buff your board nose to tail – starting with a rougher pad first and finishing with a smoother pad. If you’re using a waxing brush, a bunch of stokes nose to tail with finish the top.

Pro Tip: if you own a drill – buy a snowboard Rotor Brush Attachment for battery assisted pleasure.
Extra Pro Tip: Keep you wax scrapings, melt them down and re-use them.